Tuesday 27 August 2013

Chicken Kati Roll (Chicken Frankie)


A Kati Roll is a style of Indian Kebab that originated in Kolkata, the original version of the Kati roll was said to be an enclosed parcel, very similar to a stuffed paratha bread. There are various versions of a Kati roll, curried chicken, paneer, vegetables, regardless of the filling they all have one thing in common, that is that they are all flippin' amazing.
 
Bizarrely I did not try this in Kolkata but in Fort Cochin Kerala, this is by no means Keralan food at all but I was advised by a chef friend that I visit a particular restaurant called Dal Roti. I had spent a long time in Varkarla, Kerala eating fabulous coconut based fish curries and to be quite honest that suited me, I had met a local chef who told me about this particular restaurant, he had explained that the owner was his mentor and had taught him to cook, I was told that if I like good food this would be a pilgrimage for me, but the food is north Indian. The restaurant itself is down a dusty lane which feels in the middle of no where, the restaurant much like most of the best restaurants that I have visited looked rough around the edges, and when we arrived we were told to leave and come back in an hour as it was ramadan, none of this put me off because I was desperate to see what all the fuss was about, that was possibly one of the best decisions that I have ever made, not only was it the best indian food I have ever tasted but it has made such an impact on how I cook Indian food that I will forever try to match the quality of food I tasted that day. 
 
For those of you who read regularly you will know that obviously I cook a lot, I blog about recipes that I feel that I could honestly share so that people who would cook it will love it, but the Kati roll is in a league of its own, it is the best recipe that I have written, now you know i'm serious when I say that! Paratha bread with fried egg on one side, then stuffed with curried chicken, green chutney and red onions, perfection.

 I cooked a huge batch of kati rolls for some friends for dinner and have since been hounded for the recipe, so here it is guys, ENJOY!
For the Paratha:
You will need:
1 cup of white bread flour
1/2 cup of chapatti flour
2 tbsp of vegetable oil
a pinch of salt
100ml water

Blend all of all of the above ingredients together and knead for ten minutes until you have a soft pliable dough. Place to one side.

For the green chutney:
1/2 cup of mint
1/2 cup of coriander
4 green chillies (seeds and all)
1 tbsp of caster sugar
3 tsp of maldon seasalt, if you are using table salt  reduce the amount
1 cup of white onion
6 tsp of lemon juice
3 tsp of water

Blend all the above items in a food processor until very fine.

For the chicken filling:
500g of boneless and skinless chicken thighs, diced.
1 pureed red onion
2 tbsp of oil
2 medium diced tomatoes
1 tbsp of garlic and ginger paste (from a jar)
1/2 tsp of chilli powder or cayenne 
1/2 tsp of black pepper powder (use Indian pepper powder only it is totally different)
a pinch of cumin powder
1 tsp of chaat masala seasoning
30ml of lemon juice
2 tsp of maldon salt
a pinch of chat masala to finish

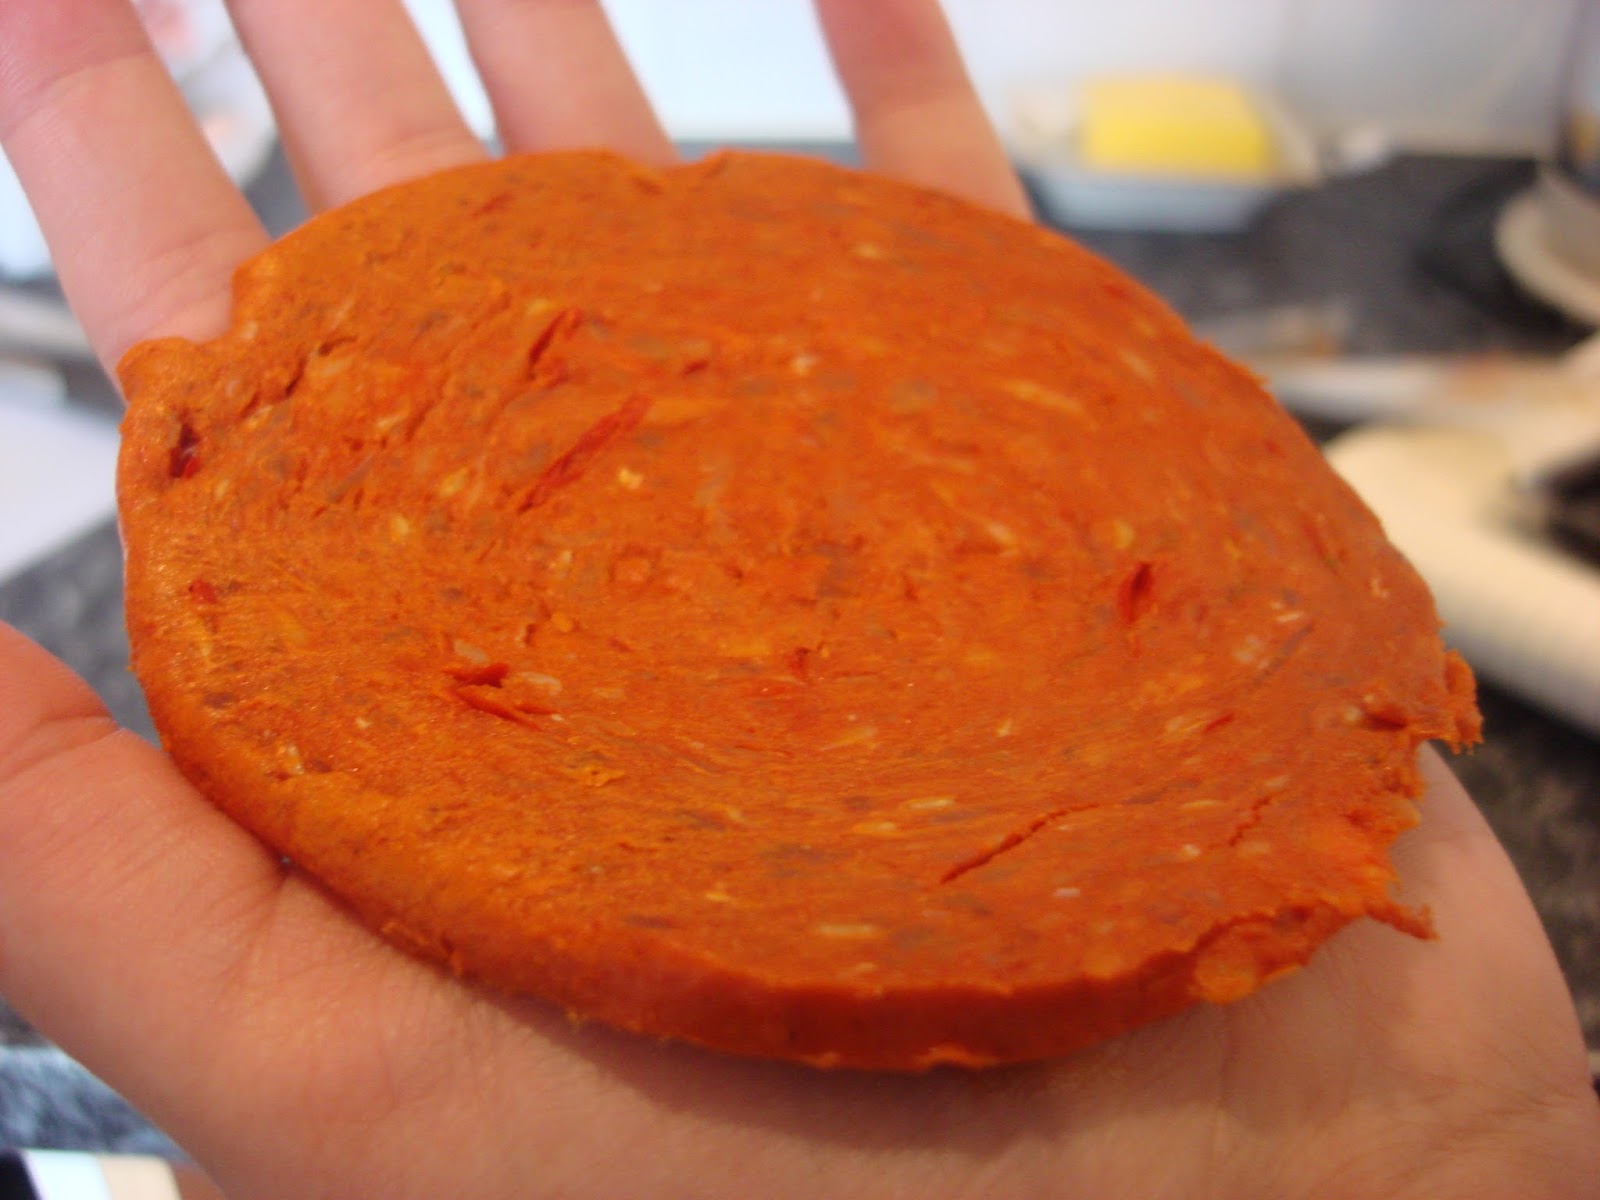
Firstly puree the onion by blending it in a food processor until fine, you can add a little water to help it blend. Place a large frying pan on a high heat and fry the onion puree in the oil until golden brown, add the garlic and ginger paste, chilli powder, chat masala, pepper powder and cumin, fry for five minutes then add the tomatoes, cook the tomatoes until they have completely broken down, this should take 5-10 minutes, you can help the tomatoes by pressing them down with the back of a  wooden spoon. 
 Add the chicken and salt and cook the chicken on a low heat for 20-30 minutes until the chicken is super soft (chicken thighs do not dry out). Finish the chicken with the lemon juice and an extra pinch of chaat masala, place to one side.

(other things you will need)
Whisk up 3 eggs with a pinch of salt and pepper powder.
1 sliced red onion

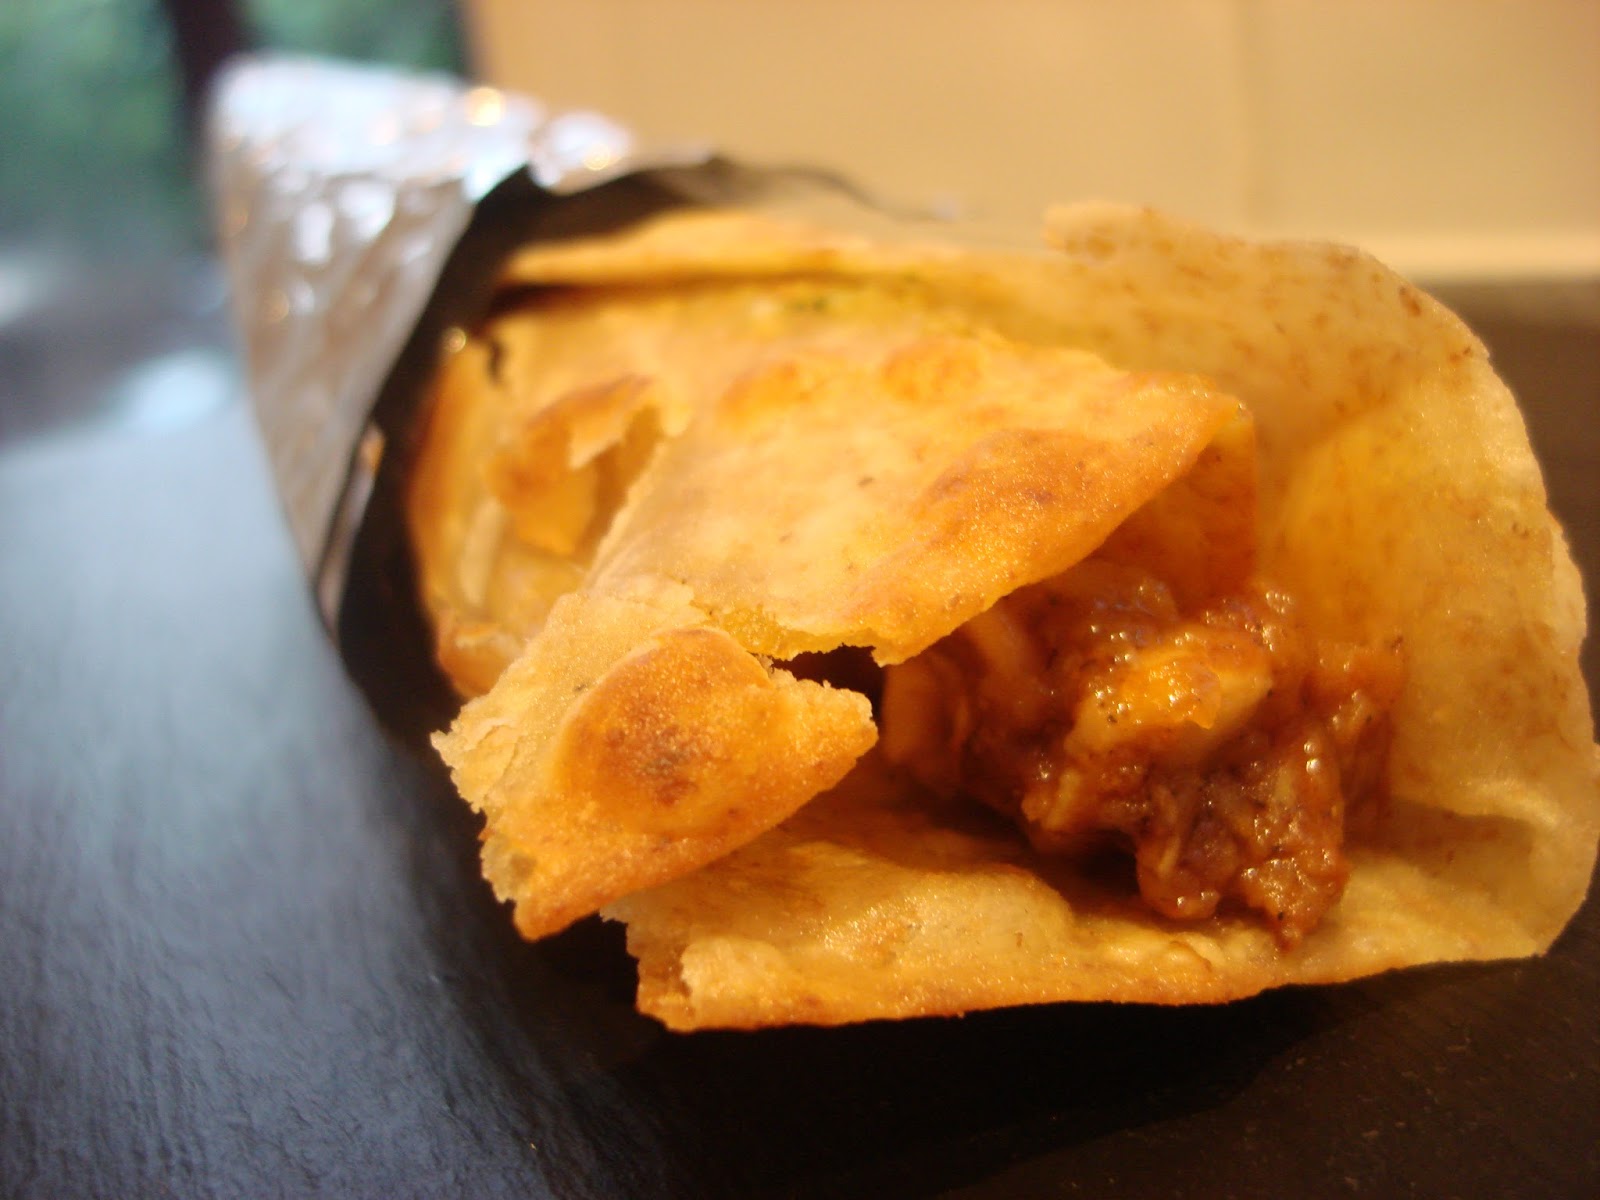
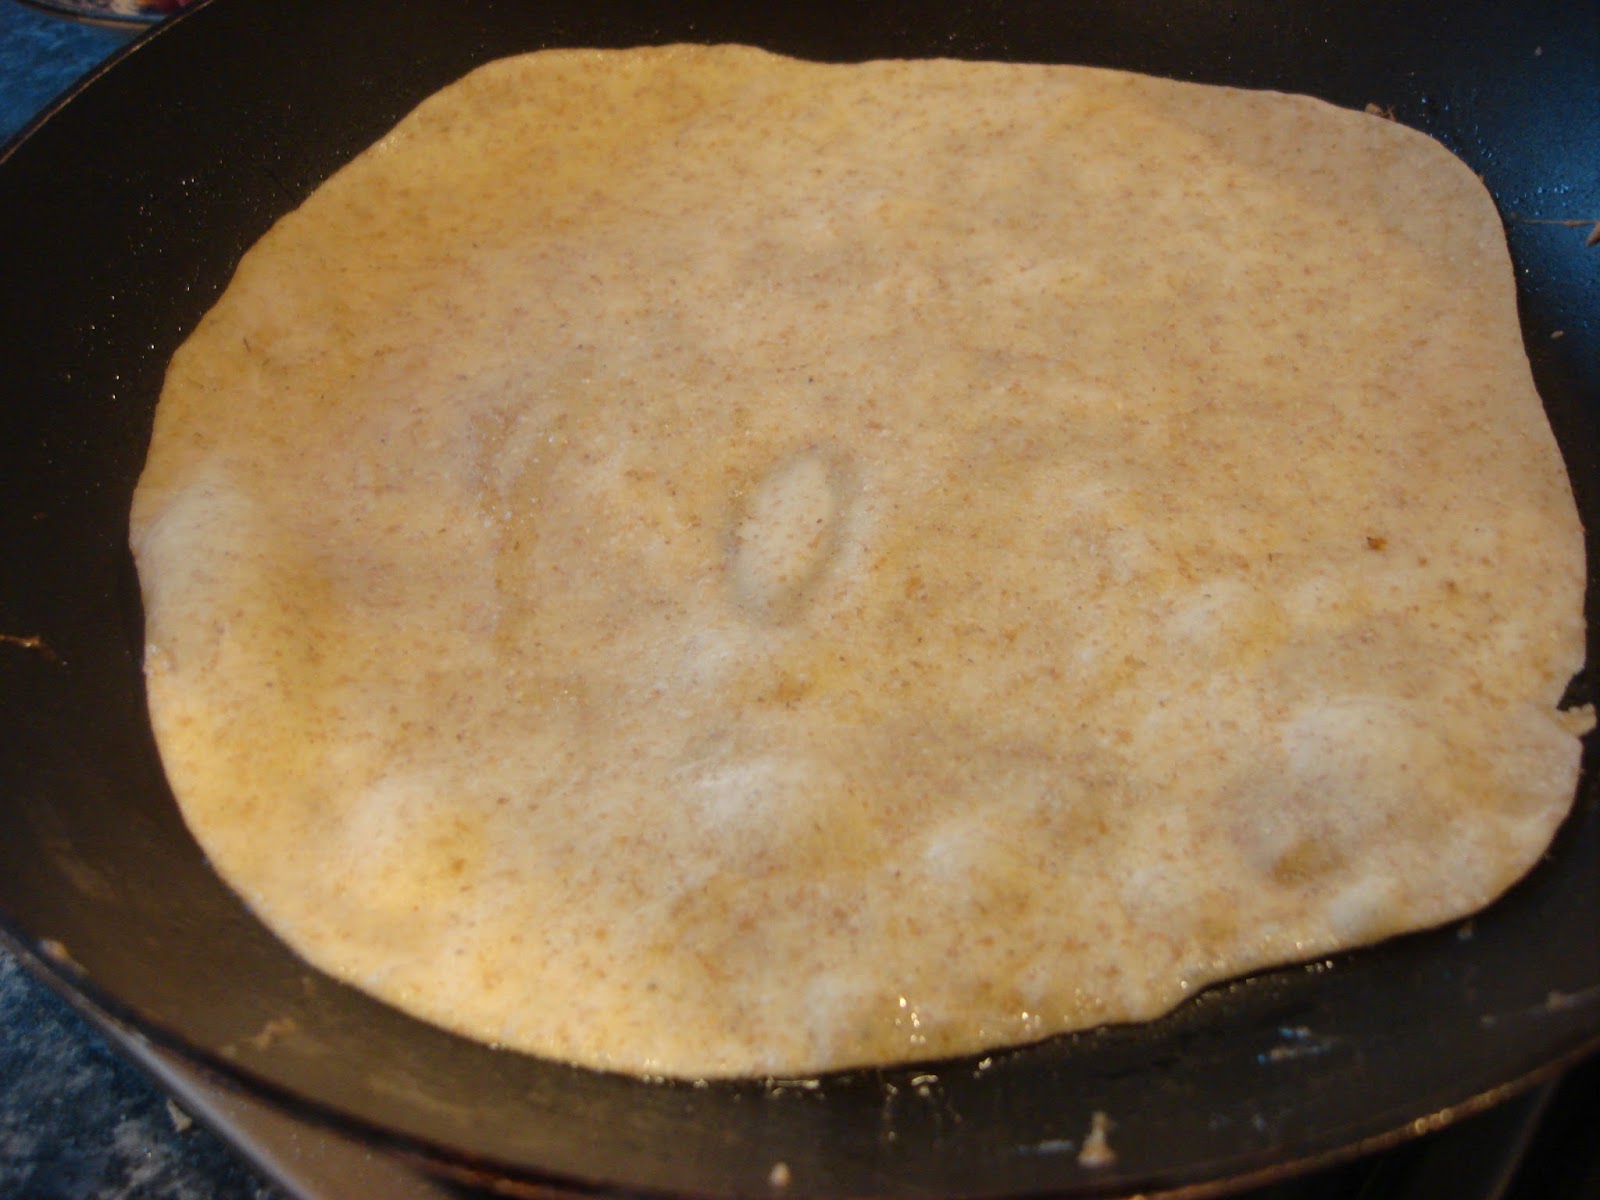
To assemble the Kati roll split your dough into four and roll each ball out on a floured work surface until they are super thin roughly 30cm in diameter. Place a very large frying pan on the heat and add a tbsp of oil, place the paratha into the pan and whilst one side is cooking pour a quarter of the omelette mixture onto the other side of the paratha bread and spread out the egg, allow it to cook for a minute or until bubbles begin to appear in the bread, flip over and allow the egg to cook until the bread puffs up, remove from the pan.
 To assemble the roll place the fried paratha bread egg side up and place a quarter of the chicken onto the eggy bread, then a few teaspoons of the green chutney and sliced red onion, wrap the roll like a tortilla and wrap it in foil, serve immediately.


Sunday 11 August 2013

The Cornish Pasty


When I told my Husband that I wanted to blog about the infamous Cornish pasty his response of "oh you're brave" was only to be expected, this is because a. I'm not Cornish, b. I'm not even fully British, c. I have a tendency to play about with recipes and make them my own. 
 As a cook it is all too easy to recreate something to suit your own palate, but with a dish like the Cornish pasty that is sheer simplicity itself why would you bother, sometimes the simplest recipes are the hardest to accomplish because there is not a myriad of flavours to hide behind, every element has to be perfect because each imperfection is very apparent, and why on earth would a tamper with a recipe that dates back as early as the 13th century? I'd have to be mad!
 There are three things I love about food, obviously I love the process of cooking, and of course I love to taste food, but one of my most enjoyable aspects of food is the history of it, I love knowing that I am cooking a recipe that has not only been made for hundreds of years, but I love the history of why it was created. 
The shape of the infamous pasty has been directly influenced by the people who consumed it, it was a popular snack for miners, the shape and size made it suitable to carry whilst the pastry insulated it's contents and made it durable enough to survive, but the crimped edge would be used as a handle, it meant that a mining worker could hold the pasty and dispose of the edge due to the high levels of arsenic in many of the tin mines.
 I know that my crimping technique leaves a lot to be desired but I hope that I have done the integrity of the pasty justice, and that I will not receive a huge back lash from the Cornish pasty aficionados. Sometimes the simple things in life are the best, this is most definitely the case of the Cornish pasty.

You will need:
(for the pastry)
75g of butter
75g of lard
375g of bread flour (this allows the pastry to be more durable because of the gluten in the flour)
1/4 tsp of sea salt
150ml of ice cold water

Firstly start by rubbing the fats and the flour between your fingers and thumb, mix together in a large bowl, when the mixture resembles coarse sand add the salt and ice cold water, mix until it begins to adhere into a dough, place to one side for later.
For the filling:
400g of skirt beef
150g of peeled and thinly sliced potato
100g of peeled and thinly sliced turnip
75g of peeled and thinly sliced white onion
generous seasoning of salt and pepper SEE NOTE

1 egg for egg wash

Preheat the oven to 170 degrees c
Split the dough into three separate balls and roll each ball into a round roughly 3mm thick and 20cm in diameter.
 On one side of the circle start by place a few slices of onion, potato, generous seasoning of salt and pepper, turnip, then a third of the beef, season again, then onion, potato, seasoning, then turnip, brush egg wash on all around the edges, and on the half of pastry without the filling, fold the pastry circle in half and either crimp by twisting the edge over itself to create a rope effect, or if your are a novice you can use a fork to seal the edges by pressing it down to nip the pastry together. 
 Place each pasty onto a baking tray line with greaseproof paper. Cut a small line in the top of the pasty to allow the steam to escape and brush liberally with egg wash. Cook on the middle shelf of the oven for an hour. Controversially I like my Cornish pasty served with sauteed cabbage, Sorry but I do!


NOTE: BE OVER THE TOP WITH THE SEASONING OTHERWISE IT WILL BE BLAND!


Saturday 10 August 2013

N'duja Chicken

 
           I often compare my love affair with food to a happy relationship, you love it you have nothing to complain about but sometimes you can find yourself in a bit of a routine. 
I sometimes find myself using the same ingredients and cooking the same meals from week to week, this is when food stops being enjoyable and becomes a chore. When I feel like I am stuck in a rut, the best thing to do is break out, buy a completely new ingredient to you and experiment, if it doesn't work out WHO CARES, at least you have had a go. I have spoken before about shopping blind, this means forgetting the dreaded shopping lists, don't even look for what is necessary but go to your local market, greengrocers or supermarket and see what is good, let the produce speak for itself, the beauty of shopping seasonally is that usually the produce usually compliment each other.
 My objective was to try a new product, something that can enhance the flavours of wonderfully ripe tomatoes, peppers, basil and then I saw it, N'duja, I had to have it.
 So here is the deal with this lovely salami/sausage, N'duja is an Italian spicy spreadable sausage from the southern Italian region of Calabria, laced with chilli peppers it packs a real piquant punch, just like cinderella's fairy god mother it can transform the mediocre to the sublime with ease. 
 Armed with my ingredients and feeling pretty optimistic about my culinary goodies I set to work, I have to say that I regularly try out new products that fill me with hope and deflate me quicker than a popped balloon, but this one my friends is worth talking about, hell if they made N'duja soap i'd wash with it, it is that fantastic. 
This is for a meal for two and should only be made when grovelling is required or your have seen a new bag that is completely out of your price range, this dish will break any man, cooks honour!

You will need:(for the chicken)
2 Large Chicken breasts with the skin on (you can either stuff the n'duja under the skin like I have or you can make a small pocket in the breast)
90g pack of Nduja (available at        good delis or waitrose)
2 teaspoons of olive oil
Maldon seasalt
Cracked black pepper

For the chunky pepper sauce:
1 very Large white onion sliced finely
1 red pepper sliced finely
1 yellow pepper sliced finely
1 orange pepper sliced finely
1 large red chilli sliced finely
3 tbsp of olive oil
1/2 tsp of smoked paprika piquante
4 tbsp of chopped garlic (not from a jar)
2 tbsp of freshly chopped oregano
3 tsp of maldon sea salt
2 tsp of sherry vinegar
8 cherry tomatoes (the sweeter the better)
1 tbsp of caster sugar
14 stoned black olives
a small bunch of basil

Firstly preheat the oven to 180 degrees c. 
 Stuff each chicken breast with a slice of the n'duja under the skin of the chicken (as shown in the image), drizzle with a teaspoon of olive oil and season with salt and pepper. If you have decided to stuff the cavity of the chicken with the sausage meat instead of the skin I suggest that you wrap the chicken in one piece of parma ham to stop the chicken from drying out. 
 Heat a cast iron grill pan or pan and seal the chicken on both sides until it is lightly browned, then transfer the chicken into the oven for 10-15 minutes depending on the size of the fillets, if you do not have a pan that can go into the oven then transfer the fillets onto a baking tray, just make sure you reserve the pan juices for later. 
Whilst the chicken is cooking you can prepare the sauce, begin by sweating the onion, peppers and chilli in the olive oil in a large saucepan, once the onions and peppers begin to soften and I mean really soften (this should take around fifteen minutes) then add the smoked paprika, oregano, garlic, sugar and salt. By this point your chicken should be cooked through, remove it from the oven and allow to rest on the baking tray.

 Add the sherry vinegar and tomatoes to the peppers and the cooking juices from the chicken, when the tomatoes have broken down into a mush then remove the sauce from the heat and add the olives and the basil.
Serve this chicken with a rocket salad or roasted new potatoes for a hearty side.


Sunday 4 August 2013

Thai Red Duck Curry (Gaeng Pet Phed Yang)


My very best friend Hayley just so happens to be Australian, before you ask NO she does not live in England she lives in Sydney, we have had what you may call a long distance friendship, thank goodness for whatsapp and viber.
 What is unusual about our meeting is that we did not meet in Australia or England, we actually met in Koh Tao Thailand and have continued to visit each other back and forth over the years.    I'm sure that my husband will back me up that when we get together we act like a couple of idiots, and we do think that we are the funniest pair on the planet much to the dismay of people in close proximity to us. Hayley recently came to visit and met the new addition to our little family and also to get up to a little mischief in the process. One of our favourite past times is cooking, I cook, she gets out her notepad and asks a million and one questions, as a regular reader of my blog she did point out my tendency to sometimes over complicate recipes by using ingredients that have to be sourced (guilty), she pointed out that not everyone has the time or energy to go to specialist stores, sometimes it is easier to buy it all under one roof, I could not agree more.

 On our very last day of mischief we decided to channel our inner goddesses by having  fantastic thai Massage (a memory of our first meeting) followed by a wonderful lunch, Red Duck Curry, an absolute classic and a much celebrated thai dish, one that I ate in abundance throughout Thailand, so it was only obvious this would be a recipe that I would recreate. 
 I have kept my promise, this recipe delivers on flavour whilst being super fast and easy to prepare and also you can get all of the ingredients at any supermarket, RESULT, this ones for you H.P!!

(All the measurements are in cups for ease)

You will need:
1 cup of Pineapple cut into large chunks (you can use tinned)
1/2 cup of french beans cut into batons
1/2 cup of red pepper cut into large chunks
1 sliced red chilli (use birds eye if you like it hot)
1/4 cup of halved cherry tomatoes
1/3 cup good quality red curry paste (easily available now)
1 bruised lemon grass
3 finely chopped fresh kaffir lime leaves or zest of two limes
20ml of lime juice
1 tbsp of fish sauce
1/4 cup palm sugar or 1/3 cup brown sugar
1/4 cup of thai sweet basil (substitute with 2 tbsp of tarragon and 1/4 cup of normal basil)SEE NOTES
400ml of coconut milk (a can)
1 tbsp of coconut oil
2 tbsp of caster sugar
1/2 tsp of maldon sea salt
2 Cooked duck breasts (this can be cooked up to a day ahead)


Start by preparing all of your vegetables and place it on your board or a plate ready to use.
In a medium saucepan cook the curry paste in the oil until it begins to soften, Curry paste is a raw product, therefore needs to be cooked out to mellow the harsh flavours of the garlic and chilli etc. Use the back of a wooden spoon to mash the paste to soften it, at this point I usually add 100ml of the coconut milk to soften the paste even more.
 Add the lemon grass, lime leaves or zest, peppers and the remaining coconut milk, once the milk is starting to boil add the sugars, fish sauce, pineapple, salt, chilli and french beans, allow this to cook together for five minutes and remove from the heat and add the lime juice and herbs. Slice the ready cooked Duck and either serve this on top of the curry sauce or you can re-heat it in the curry sauce.
Serve with microwaveable thai rice for true ease!


NOTE:Sweet Thai basil is a very difficult herb to locate, some chefs would say to use normal basil but normal basil does not have an aniseed flavour like Sweet basil, my suggestion is to use tarragon and basil to mimic the flavour effectively.