Tuesday, 24 September 2013

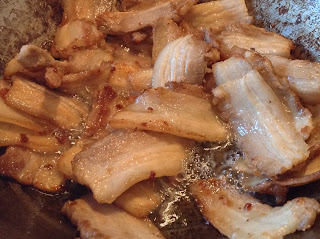
Sichuan Twice cooked belly pork (Huí Guō Ròu)


 A 2012 survey conducted in the UK confirmed that Britain's favourite meal was a stir fry, yes you read me right a stir fry. I'm not entirely sure what the heck that means in all honesty, to me a Stir fry is not a dish but a cooking method.
 Unfortunately real Chinese food in this country is extremely difficult to find, us Brits associate Chinese food with gloopey bright red sweet and sour sauces, and the very westernised Chow mein, that I can only presume is an invented western version of Chinese bubble and squeak. In Chinese culture gastronomy has always been highly regarded, they pride themselves on eating a wide variety of foods, whilst still keeping true to the traditions of their food culture, I often wonder what they think to our adaptations of their prized cuisine.

 I first tried this wonderful dish with my husband, we had stumbled by a restaurant that was very dark and dingy, and full of homesick Chinese students which I suspect where missing their home cuisine. You know when you are eating somewhere authentically Chinese when you are a)The only westerners there b)the menu is not in English and you have to point to an image c)you can hear the gently clattering of tea cups and a murmur of mandarin tongue. This is when I know I am on to a good thing. 
 My husband being the very smart man he is always leaves it up to the waiter to recommend an authentic dish and this is what were served, Huí Guō Ròu simply means returned to the pot, meltingly tender fiery strips of belly pork cooked with ramps, leeks or baby leeks. At first glance it seems as though replicating a dish like this is utterly incomprehensible, but it was actually much easier than I thought, and was utterly delicious. This is one for all you chilli lovers out there.

You will need:
1 1/2 kg pork belly
3 red chillies
5 baby leeks
3 tbsp Sichuan chilli bean paste
1 tbsp tian Mianjiang or hoisin sauce 
1 tbsp black bean paste
2 spring onions (dark green part only)
1 tbsp veg oil
2 tsp sugar
1 tsp soy sauce

This dish is far to easy to make, the only complicated step is the twice cooking of the pork and that is really a doddle! Place the pork in a very large pan of boiling water  so that the water covers the pork and boil for 25 minutes, remove from the pan and refrigerate overnight, this will allow the fat to solidify making it easier to slice. 
The following day slice the pork belly as wafer thin as you can manage and set to one side. Make sure that you slice your ramps (or leeks) chillies and spring onions so that you are ready to go, this really helps when cooking Chinese food.
 Firstly heat the oil in a wok until it is smoking hot, then stir fry the pork only, until each piece is slightly crisp and golden, it will also help to render the fat of the pork. Remove the pork with a slotted spoon from the wok and let it drain slightly in a colinder, you don't want to remove all the fat but too much is not good either so a little can be drained away with the meat.
 To the residual oil add the chili bean paste, tian Mianjiang, black bean paste, sugar, chillies and soy, allow this to cook for a minute before returning the pork back to the pan with the leeks and spring onions, allow all the ingredients to cook together for a couple of minutes until the leeks are just softened, serve immediately on clouds of fluffy steamed rice!
 Heaven on earth.


Sunday, 22 September 2013

Cardamom, white chocolate and salted cashew nut cookies


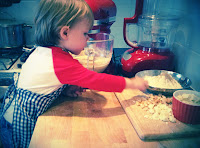
I had to blog about these cookies, partly to show that baking with children does not have to be as difficult as people think and partly in protest against pointless cupcake packet mixes for kids, I just think opening a packet teaches your children absolutely nothing about ingredients or food, what's worst is that you have no idea what is in those packets.
 Every once in a while I have no problem with my son having a little treat especially when I know what has gone into it, what's more is that my son absolutely loves to bake with his mum, when I show him his apron he gets so excited that I think he may actually take off like a rocket. 
 Regular readers will know that I'm not about to hang up my gourmet apron, just because they are cookies it doesn't mean to say that they have to be conventional or boring, I have to put my little gourmet twist on everything! 
  My son adores white chocolate and I think that cardamom and white chocolate are the best of friends also it's a little nod to my Swedish family who like me are cardamom crazy, the salted cashew nuts help to balance the sweetness and add texture to the cookie!
 I have to say they were absolutely fantastic, I think my son has great potential, Jamie Oliver in the making possibly? Get ready Jamie we are coming for you! 

You will need:
125g of salted butter
100g of light brown sugar
125g of caster sugar
1 egg
200g of white chocolate
75g of salted cashew nuts
1/2 tsp of maldon sea salt
1 tsp of vanilla bean paste
1 1/2 tsp of freshly ground cardamom seeds 
225g of self-raising flour


First preheat the oven to 180 degrees c.
Cream together the butter and sugars, this can be done in a machine or in a bowl with a hand whisk, once combined add the egg and vanilla, once the egg has been incorporated add the flour, cardamom powder and salt and mix until just combined.
 Lastly chop the white chocolate into chunks and roughly chop the nuts, add this to the cookie batter and mix until well distributed.
Divide the dough into 10 balls, this will make huge cookies, if you want something more delicate then divide the batter into twenty balls.
place the cookie balls onto a line baking tray, do cook any more than four at a time as they do spread out quite a lot. Bake for ten minutes. Allow to cool a little, I know it's hard, but patience is a virtue in this case.

Sunday, 8 September 2013

Coconut cake


 I wanted to make a celebration cake for a few reasons, I have made it to celebrate 
my first birthday of blogging(I know I thought I would never get there), I have also made it passed my target of over 10,000 views (thank you regulars readers!), also because my wonderful husband has FINALLY finished his long awaited first album, which ironically is call "Ett" meaning one in Swedish! It only seemed that such achievements deserve a double celebration, (however small my achievement may be, there is always reason for cake)! For those of you who read regularly you will know that I am usually the face behind the lens, I prefer to let the food do the talking, but because it is a special occasion my husband insisted I step out of the shadows and show that there is a head attached to these typing hands! No longer am I an illusive blogger, I am Annika Wardale, food junkie and all round babbler!   
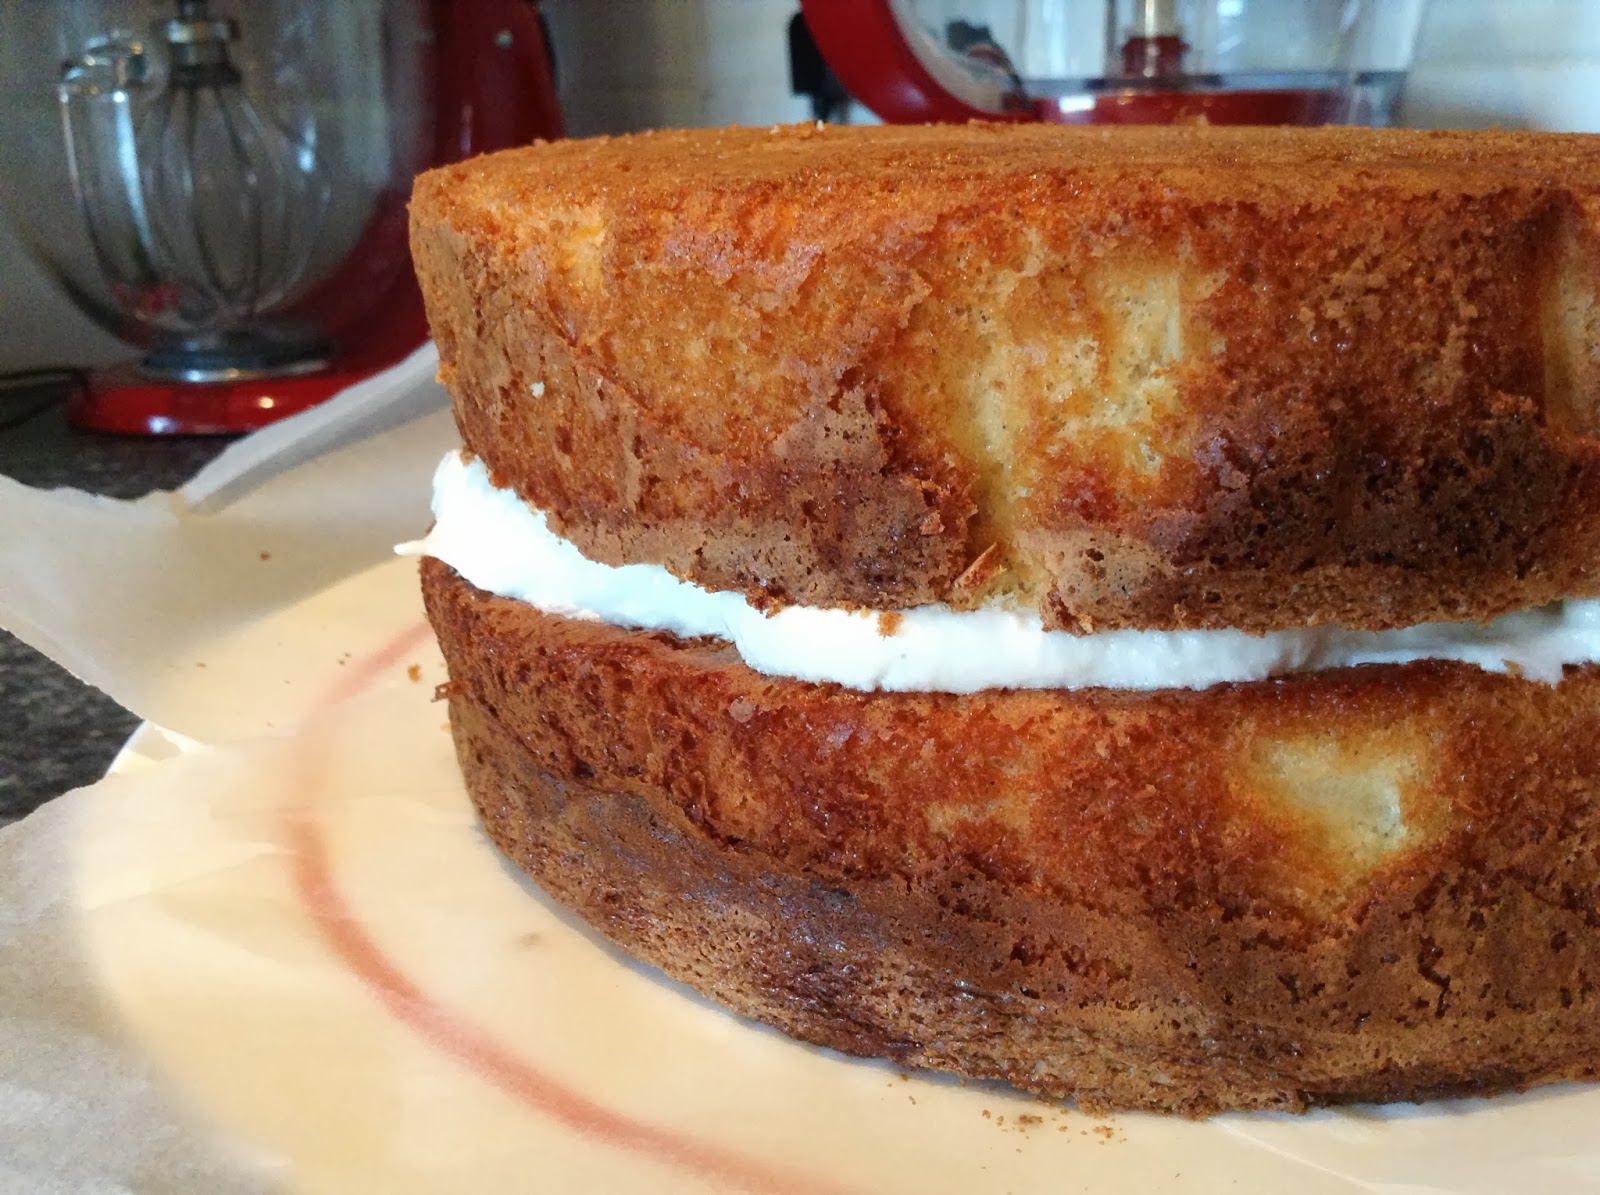
The image that you see is my light as a feather coconut cake, the best part is that it is fat free! Yes you heard right, it most certainly is not calorie free, so do not 
expect to eat six slices and lose the pounds, it ain't going to happen, but I suppose it is half way between virtuous living and gluttony! So here is my light as a feather coconut cake in honour of my hubby and my first year of blogging! Happy birthday  Annika's Apron, skål! 

You will need:
For the sponge:
100g of plain flour
100g of corn flour
1 tbsp of baking powder
6 eggs
250g caster sugar
2 tsp of vanilla extract
60ml of coconut flavoured liqueur 
1 tsp coconut extract or essence

Preheat the oven to 170 degrees c. Grease and line two eight inch cake tins with grease proof paper or baking parchment! Make sure to line the sides too. 
Whisk the eggs and sugar together until it has turned pale and thick, it will double in volume and create a ribbon effect as the mixture falls back on its self. Sieve together the flours and baking powder into a bowl and set to one side. Whisk the extracts into the voluminous egg mixture followed by the dry ingredients, only mix until just combined, finally add the liqueur and give the batter one final mix. Divide the batter between two tins and bake in the oven for 35-40 mins or until you can insert a skewer and it comes out clean.

For the frosting:(7 minute frosting)
You will need:
Five egg whites
200g of caster sugar
60ml of coconut liqueur
1 tsp of vanilla bean paste

This particular icing is done using a double boiler or Bain Marie, this basically is a bowl sat over a pan of simmering water, take care now to let the bowl touch the water! 
 Place the eggs and the sugar in the bowl and begin to whisk the ingredients with an electric whisk until the mixture has reached firm peaks, this should take 7 minutes, when the frosting is thick and glossy and can hold a firm peak whisk in the vanilla and liqueur. Remove from the heat and allow to cool.

Finishing touches:
1 cup of freshly grated coconut (you can buy this frozen, just make sure it is well dried) 
100ml of coconut liqueur 
To assemble:

Place one of the sponges onto a cake platter and pour 50ml of the coconut liqueur onto 

the sponge to moisten it, then spread a quarter of the frosting onto the sponge.
 Top with the second sponge and pour the remaining 50ml of coconut liqueur onto the second sponge, spread a scant amount of the frosting all around the cake, this is called a crumb coat, then apply a thicker coating of the frosting, the crumb coat will help the second layer to adhere to the cake and leave a smooth finish. 
Finish with the cup of freshly grated coconut, the coconut will be a little wet so dry it well on kitchen paper, then sprinkle it onto the top of the cake and press in onto the sides.


Tuesday, 27 August 2013

Chicken Kati Roll (Chicken Frankie)


A Kati Roll is a style of Indian Kebab that originated in Kolkata, the original version of the Kati roll was said to be an enclosed parcel, very similar to a stuffed paratha bread. There are various versions of a Kati roll, curried chicken, paneer, vegetables, regardless of the filling they all have one thing in common, that is that they are all flippin' amazing.
 
Bizarrely I did not try this in Kolkata but in Fort Cochin Kerala, this is by no means Keralan food at all but I was advised by a chef friend that I visit a particular restaurant called Dal Roti. I had spent a long time in Varkarla, Kerala eating fabulous coconut based fish curries and to be quite honest that suited me, I had met a local chef who told me about this particular restaurant, he had explained that the owner was his mentor and had taught him to cook, I was told that if I like good food this would be a pilgrimage for me, but the food is north Indian. The restaurant itself is down a dusty lane which feels in the middle of no where, the restaurant much like most of the best restaurants that I have visited looked rough around the edges, and when we arrived we were told to leave and come back in an hour as it was ramadan, none of this put me off because I was desperate to see what all the fuss was about, that was possibly one of the best decisions that I have ever made, not only was it the best indian food I have ever tasted but it has made such an impact on how I cook Indian food that I will forever try to match the quality of food I tasted that day. 
 
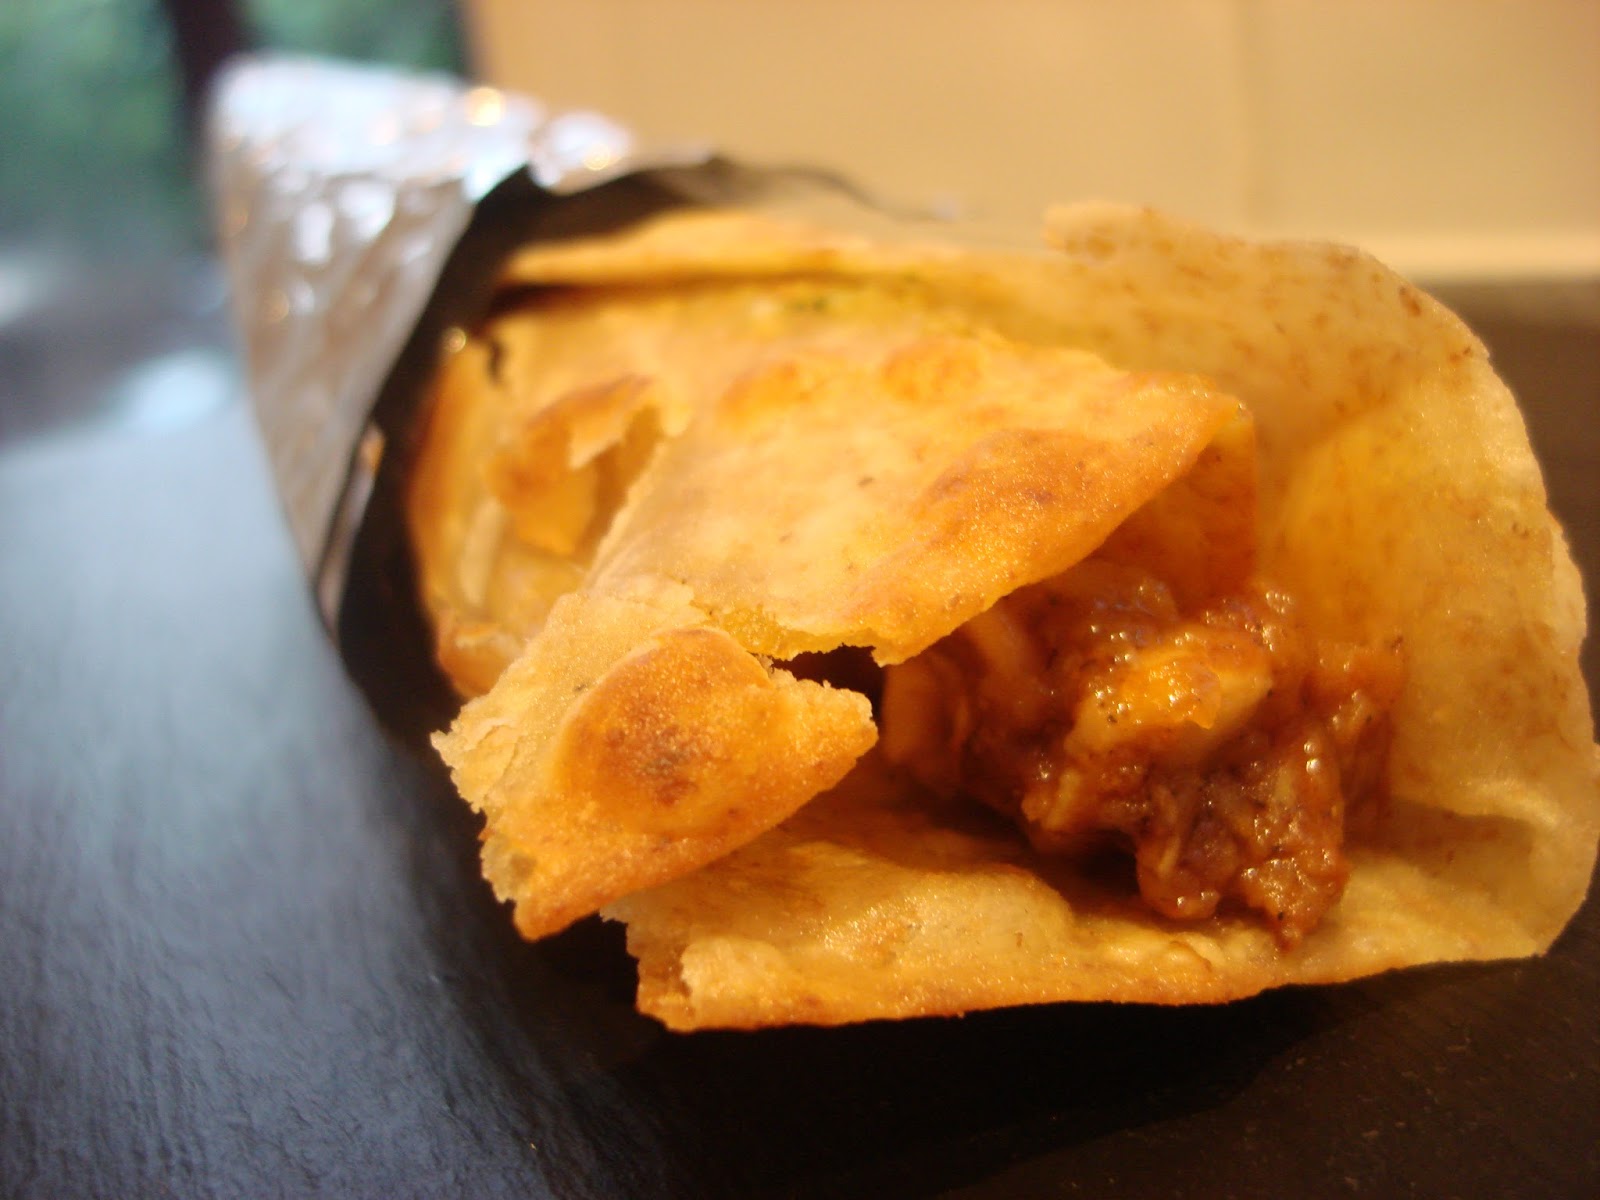
For those of you who read regularly you will know that obviously I cook a lot, I blog about recipes that I feel that I could honestly share so that people who would cook it will love it, but the Kati roll is in a league of its own, it is the best recipe that I have written, now you know i'm serious when I say that! Paratha bread with fried egg on one side, then stuffed with curried chicken, green chutney and red onions, perfection.

 I cooked a huge batch of kati rolls for some friends for dinner and have since been hounded for the recipe, so here it is guys, ENJOY!
For the Paratha:
You will need:
1 cup of white bread flour
1/2 cup of chapatti flour
2 tbsp of vegetable oil
a pinch of salt
100ml water

Blend all of all of the above ingredients together and knead for ten minutes until you have a soft pliable dough. Place to one side.

For the green chutney:
1/2 cup of mint
1/2 cup of coriander
4 green chillies (seeds and all)
1 tbsp of caster sugar
3 tsp of maldon seasalt, if you are using table salt  reduce the amount
1 cup of white onion
6 tsp of lemon juice
3 tsp of water

Blend all the above items in a food processor until very fine.

For the chicken filling:
500g of boneless and skinless chicken thighs, diced.
1 pureed red onion
2 tbsp of oil
2 medium diced tomatoes
1 tbsp of garlic and ginger paste (from a jar)
1/2 tsp of chilli powder or cayenne 
1/2 tsp of black pepper powder (use Indian pepper powder only it is totally different)
a pinch of cumin powder
1 tsp of chaat masala seasoning
30ml of lemon juice
2 tsp of maldon salt
a pinch of chat masala to finish

Firstly puree the onion by blending it in a food processor until fine, you can add a little water to help it blend. Place a large frying pan on a high heat and fry the onion puree in the oil until golden brown, add the garlic and ginger paste, chilli powder, chat masala, pepper powder and cumin, fry for five minutes then add the tomatoes, cook the tomatoes until they have completely broken down, this should take 5-10 minutes, you can help the tomatoes by pressing them down with the back of a  wooden spoon. 
 Add the chicken and salt and cook the chicken on a low heat for 20-30 minutes until the chicken is super soft (chicken thighs do not dry out). Finish the chicken with the lemon juice and an extra pinch of chaat masala, place to one side.

(other things you will need)
Whisk up 3 eggs with a pinch of salt and pepper powder.
1 sliced red onion

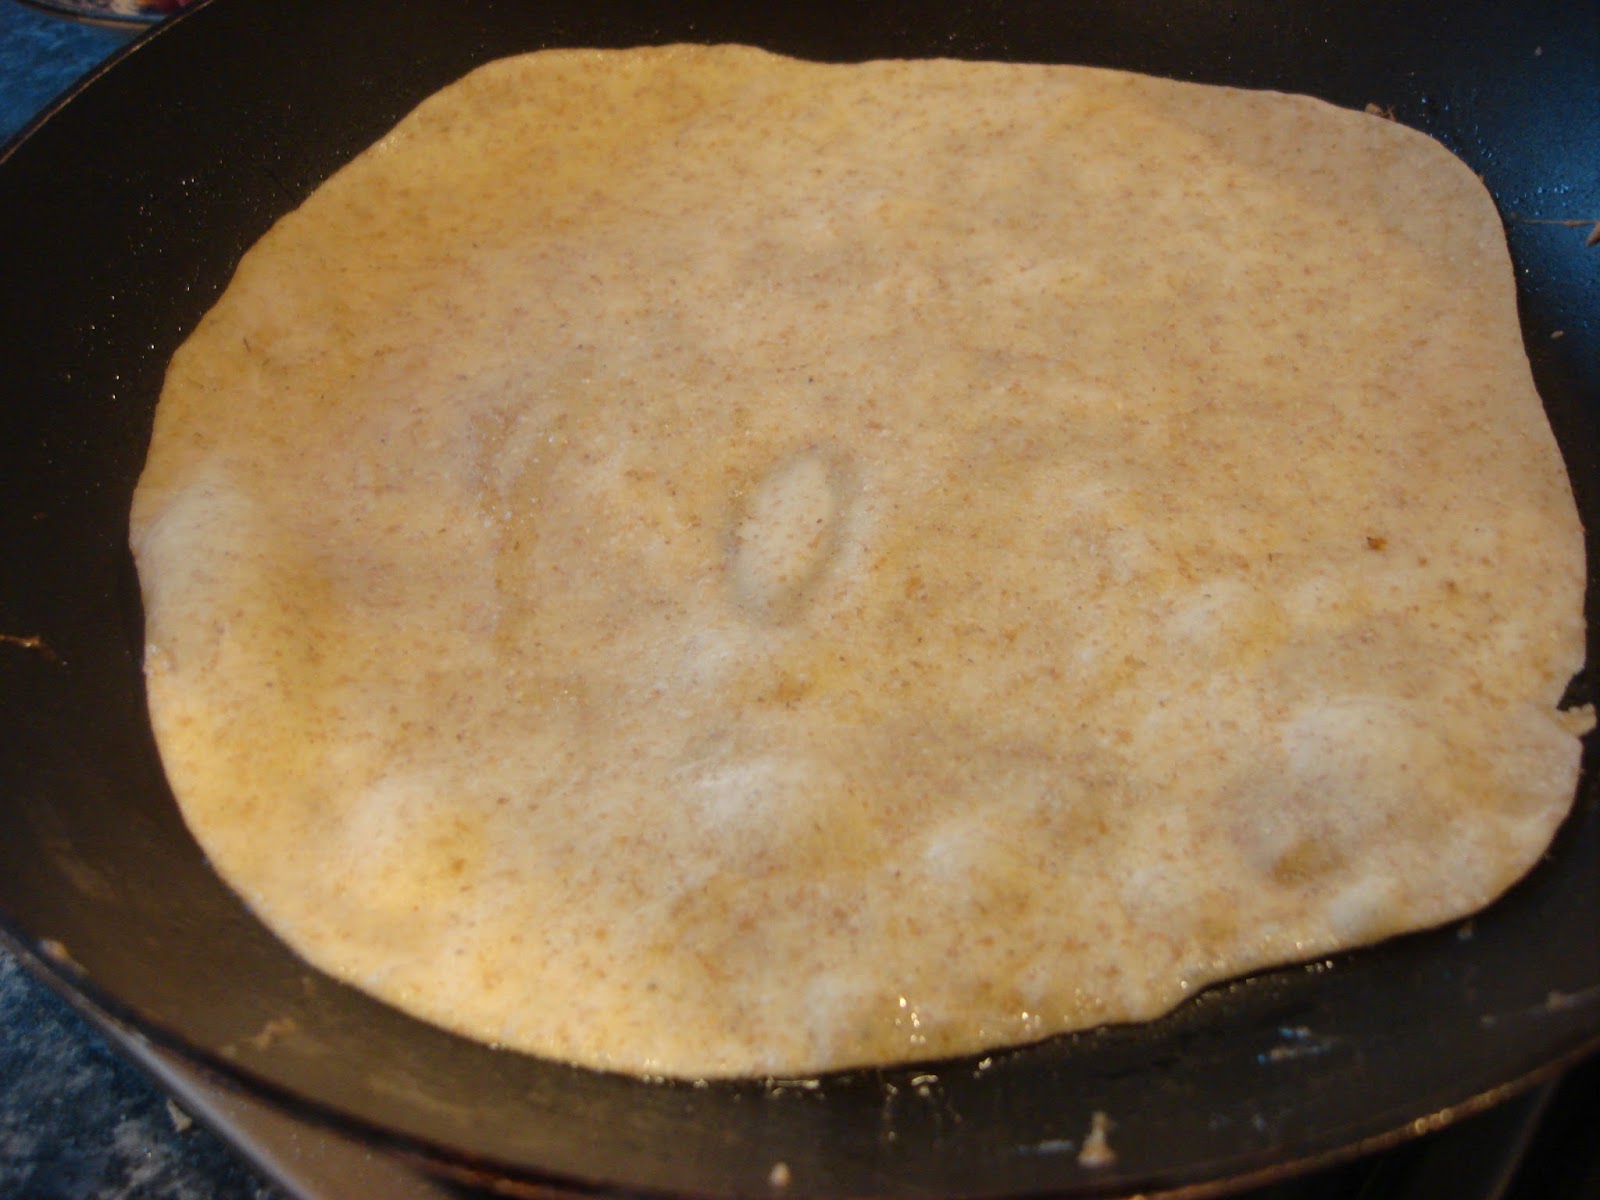
To assemble the Kati roll split your dough into four and roll each ball out on a floured work surface until they are super thin roughly 30cm in diameter. Place a very large frying pan on the heat and add a tbsp of oil, place the paratha into the pan and whilst one side is cooking pour a quarter of the omelette mixture onto the other side of the paratha bread and spread out the egg, allow it to cook for a minute or until bubbles begin to appear in the bread, flip over and allow the egg to cook until the bread puffs up, remove from the pan.
 To assemble the roll place the fried paratha bread egg side up and place a quarter of the chicken onto the eggy bread, then a few teaspoons of the green chutney and sliced red onion, wrap the roll like a tortilla and wrap it in foil, serve immediately.


Sunday, 11 August 2013

The Cornish Pasty


When I told my Husband that I wanted to blog about the infamous Cornish pasty his response of "oh you're brave" was only to be expected, this is because a. I'm not Cornish, b. I'm not even fully British, c. I have a tendency to play about with recipes and make them my own. 
 As a cook it is all too easy to recreate something to suit your own palate, but with a dish like the Cornish pasty that is sheer simplicity itself why would you bother, sometimes the simplest recipes are the hardest to accomplish because there is not a myriad of flavours to hide behind, every element has to be perfect because each imperfection is very apparent, and why on earth would a tamper with a recipe that dates back as early as the 13th century? I'd have to be mad!
 There are three things I love about food, obviously I love the process of cooking, and of course I love to taste food, but one of my most enjoyable aspects of food is the history of it, I love knowing that I am cooking a recipe that has not only been made for hundreds of years, but I love the history of why it was created. 
The shape of the infamous pasty has been directly influenced by the people who consumed it, it was a popular snack for miners, the shape and size made it suitable to carry whilst the pastry insulated it's contents and made it durable enough to survive, but the crimped edge would be used as a handle, it meant that a mining worker could hold the pasty and dispose of the edge due to the high levels of arsenic in many of the tin mines.
 I know that my crimping technique leaves a lot to be desired but I hope that I have done the integrity of the pasty justice, and that I will not receive a huge back lash from the Cornish pasty aficionados. Sometimes the simple things in life are the best, this is most definitely the case of the Cornish pasty.

You will need:
(for the pastry)
75g of butter
75g of lard
375g of bread flour (this allows the pastry to be more durable because of the gluten in the flour)
1/4 tsp of sea salt
150ml of ice cold water

Firstly start by rubbing the fats and the flour between your fingers and thumb, mix together in a large bowl, when the mixture resembles coarse sand add the salt and ice cold water, mix until it begins to adhere into a dough, place to one side for later.
For the filling:
400g of skirt beef
150g of peeled and thinly sliced potato
100g of peeled and thinly sliced turnip
75g of peeled and thinly sliced white onion
generous seasoning of salt and pepper SEE NOTE

1 egg for egg wash

Preheat the oven to 170 degrees c
Split the dough into three separate balls and roll each ball into a round roughly 3mm thick and 20cm in diameter.
 On one side of the circle start by place a few slices of onion, potato, generous seasoning of salt and pepper, turnip, then a third of the beef, season again, then onion, potato, seasoning, then turnip, brush egg wash on all around the edges, and on the half of pastry without the filling, fold the pastry circle in half and either crimp by twisting the edge over itself to create a rope effect, or if your are a novice you can use a fork to seal the edges by pressing it down to nip the pastry together. 
 Place each pasty onto a baking tray line with greaseproof paper. Cut a small line in the top of the pasty to allow the steam to escape and brush liberally with egg wash. Cook on the middle shelf of the oven for an hour. Controversially I like my Cornish pasty served with sauteed cabbage, Sorry but I do!


NOTE: BE OVER THE TOP WITH THE SEASONING OTHERWISE IT WILL BE BLAND!